

macOSの日本語変換のライブ変換が便利で愛用している。その反面、単語登録の設定画面を呼び出すショートカットキーが存在せず、何度もマウスをクリックする操作でストレスだ。
存在しないなら作ればいい、AppleScriptを活用して、ショートカットキーを設定できる。
動画で設定手順
設定手順の詳細は、Youtube動画にまとめた。
Ventura以降のコード(Sonoma対応版)
macOS Venturaでは、システム設定の画面構成が大きく変更され、MontereyのAppleScriptでは動かないので注意が必要だ。(コードはこちらの記事を参考にした、感謝です。)
open location "x-apple.systempreferences:com.apple.Keyboard-Settings.extension"
delay 2
tell application "System Settings"
	tell application "System Events" to tell application process "System Settings"
		tell window "キーボード"
			tell group 1's splitter group 1's group 2's group 1's scroll area 1's UI element 4
				tell button 2
					click
				end tell
			end tell
		end tell
	end tell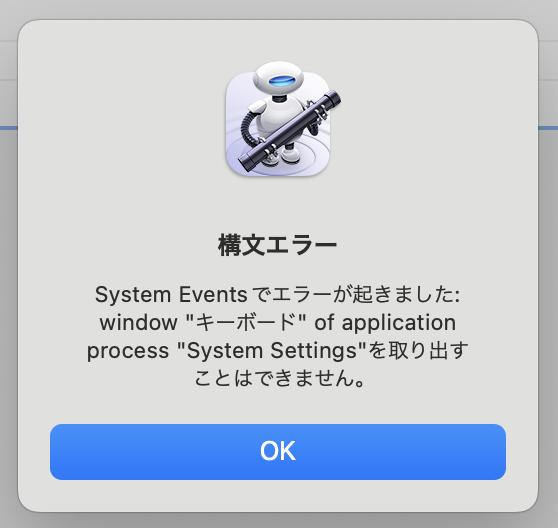
end tell2行目のdelay 1をdelay 2としないと以下のエラーが発生した。
Sonomaで使ってみたが、アプリごとに、アクセシビリティの許可が必要になるため、なんだか、、という状態に、これだと、ここまで苦労してショートカットキーにするより、
メニューバーの日本語アイコンから、「ユーザ辞書を編集」をクリックして開いた方がいい気もする。
Monterey以前のコード
tell application "System Preferences"
    --システム環境設定のキーボードのユーザー辞書の画面へ
    reveal anchor "Text" of pane id "com.apple.preference.keyboard"
    activate
end tell

delay 1 --処理が詰まるのを防止

tell application "System Events"
    tell process "System Preferences"
        tell window "キーボード"
            tell tab group 1 --キーボード画面のタブ
                tell group 1 --単語の登録・削除のボタングループ
                    click button 1 --登録ボタン「+」
                end tell
            end tell
        end tell
    end tell
end tell
設定手順の説明
Automaterでクィックアクションを作る
Automatorを起動し、新規書類から「クイックアクション」を選ぶ
Apple Scriptを実行を選ぶ
上のコードを貼り付けて、名前をつけて保存し、実行する
アクセシビリティアクセスの警告が出るので、許可する。
キーボードショートカットを設定
システム環境設定を開き、キーボード > キーボードショートカットのボタンをクリックして進む
「サービス」の「一般」を開くと、先ほどのクイックアクションが見つかる
キーボードショートカットを登録
(例 control + option + d )
ショートカットキーが、他と重複するとうまく起動しない、いろいろと試して、
control + option + d にたどり着いた。